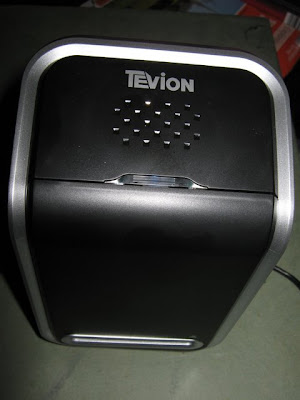
Here is the brute.
 |
| From blogpics |
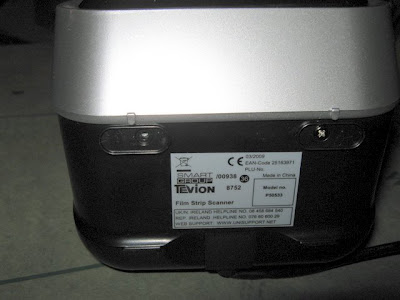
Pull off the rubber feet and extract the two screws.
 |
| From blogpics |
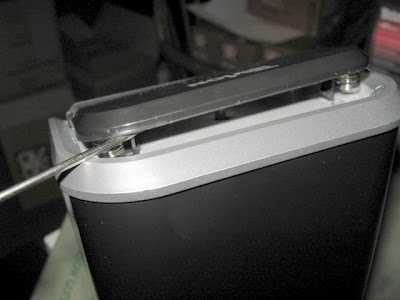
Lever off the top and gently unhook the four latches that retain it. Two more screws are revealed.
 |
| From blogpics |
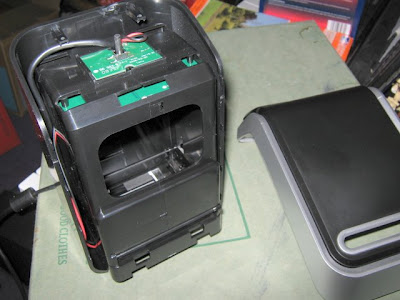
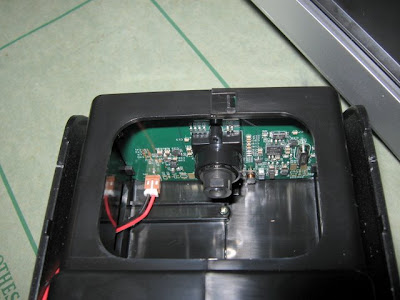
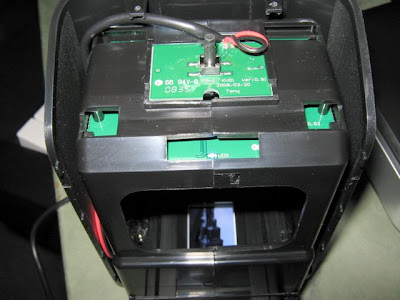
The cover removed, you can see the snapshot button in the top and wires going down to the back light illumination panel.
 |
| From blogpics |
Looking inside we see the camera. It is held on by two screws and there is no adjustment possible.
 |
| From blogpics |
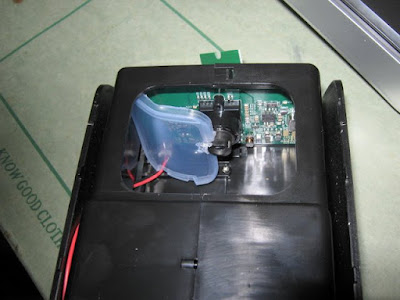
The camera looks down at the slide and you can see a Gloucester docks shot out of focus.
 |
| From blogpics |
Camera alignment was corrected through the use of a custom made polymer spring, precision made out of a memory card case. Pictures no longer have two black edges.
 |
| From blogpics |
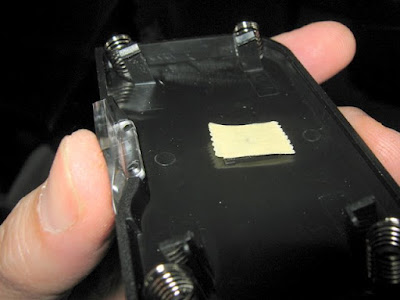
And if you are in any doubt about the quality of this scanner just look at the underside of the snapshot switch. Several layers of double sided strips topped with a paper adhesive tape. This presumably fattens up the button so that it can reach the snapshot switch. As we say, "Quality with a capital K".
 |
| From blogpics |
1 comment:
I had the same problem with my scanner but by easing off the 2 screws (each side of the push button switch)visible from the top in the picture mentioning Gloucester Docks i was able to move the camera enough to get a full picture with no black stripe. I did this with the scanner plugged in so I could see the effects immediately
Post a Comment